
If you’ve seen my recent post on my Vintage themed bullet journal set up for this month, you would know that I used vintage themed stickers and stamps (which I got as a part of a huge haul – read that post here).
I also used vintage papers and vintage themed circle stickers in my vintage bujo set up which I made at home, so I thought I should share the process of how I made them.
 |
| How to make DIY Vintage Paper at home |
DISCLAIMER – This post may contain affiliate links, which means we may receive a commission if you click a link and purchase something that we recommended! You can read my full disclosure here.
How I made DIY vintage paper at home
Step 1 – Boil some water and add coffee powder
We need the coffee to be very strong. The stronger the coffee, more vintage-y the paper will look. I wanted only a minimal vintage look, so I didn’t make my coffee very strong.
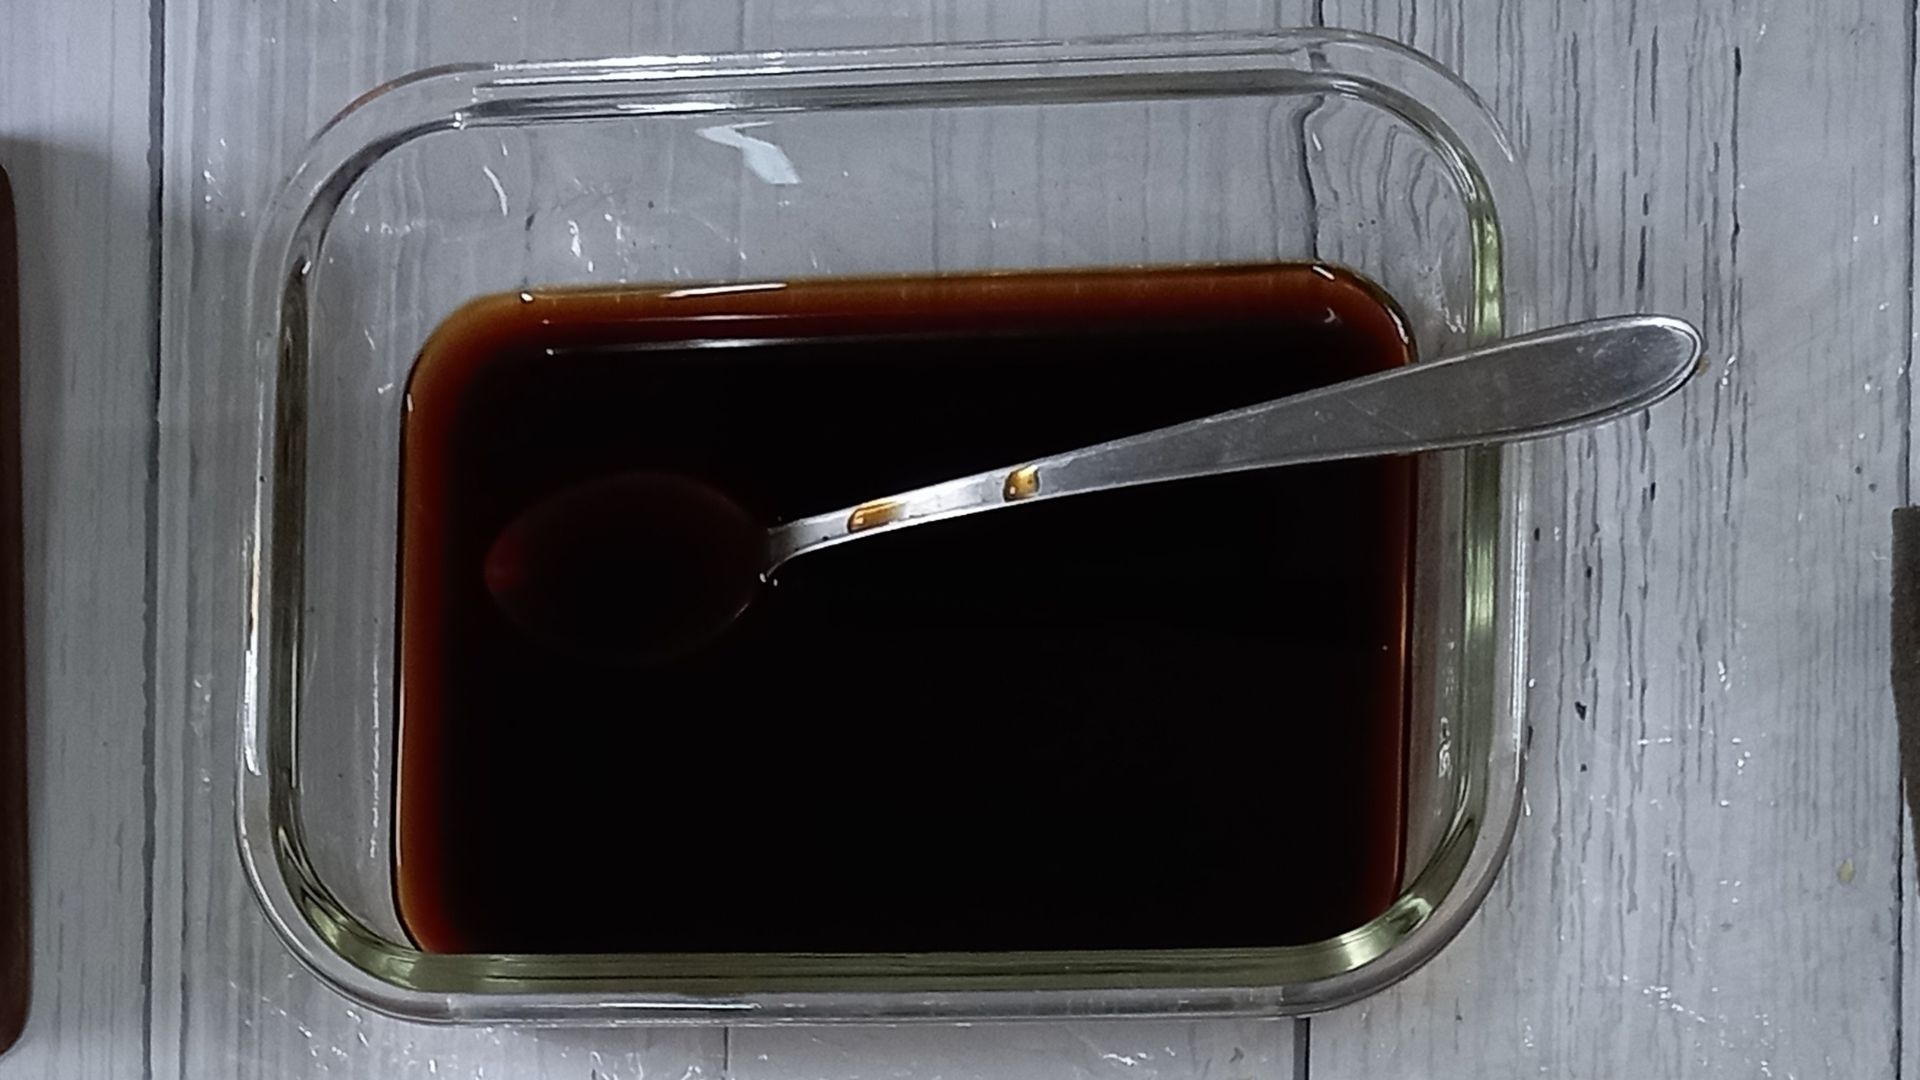
Step 2 – Pour the coffee into a rectangular vessel
We are doing this step so that it will be easier to dip the paper entirely into the coffee. This will also make the process faster.
You can alternatively also keep the coffee in a smaller vessel and use a sponge to dab the coffee over the whole paper.
Step 3 – Burn the edges of the paper
Light a candle and slowly start burning the edges of the papers to give it a more vintage look. Be very careful with this step and ensure you don’t burn the whole paper.
 |
| Use a candle to burn the edges of the paper |
Step 4 – Crush the papers and dip it in the coffee filled vessel
First, keep a plastic sheet ready so that you can immediately lay the wet paper onto it. Crush the papers by hand to give it a crumpled look.
Now, flatten out the paper and immerse it completely into the coffee vessel. I used both A4 sheets and some grid paper I had.
 |
| Use a plastic sheet to lay out the wet papers to dry |
Alternatively, you can also place the flattened paper onto the plastic sheet and use a sponge to dab coffee all over the paper. This will definitely be a less messy step.
 |
| Sponge used to dab coffee |
Step 5 – Leave to dry for a few hours
Just leave the papers to dry under a fan for a few hours (I left mine overnight) and you are good to go!
This is what the end result looks like!
 |
| DIY Vintage Paper – End Result |
How I made DIY circle stickers
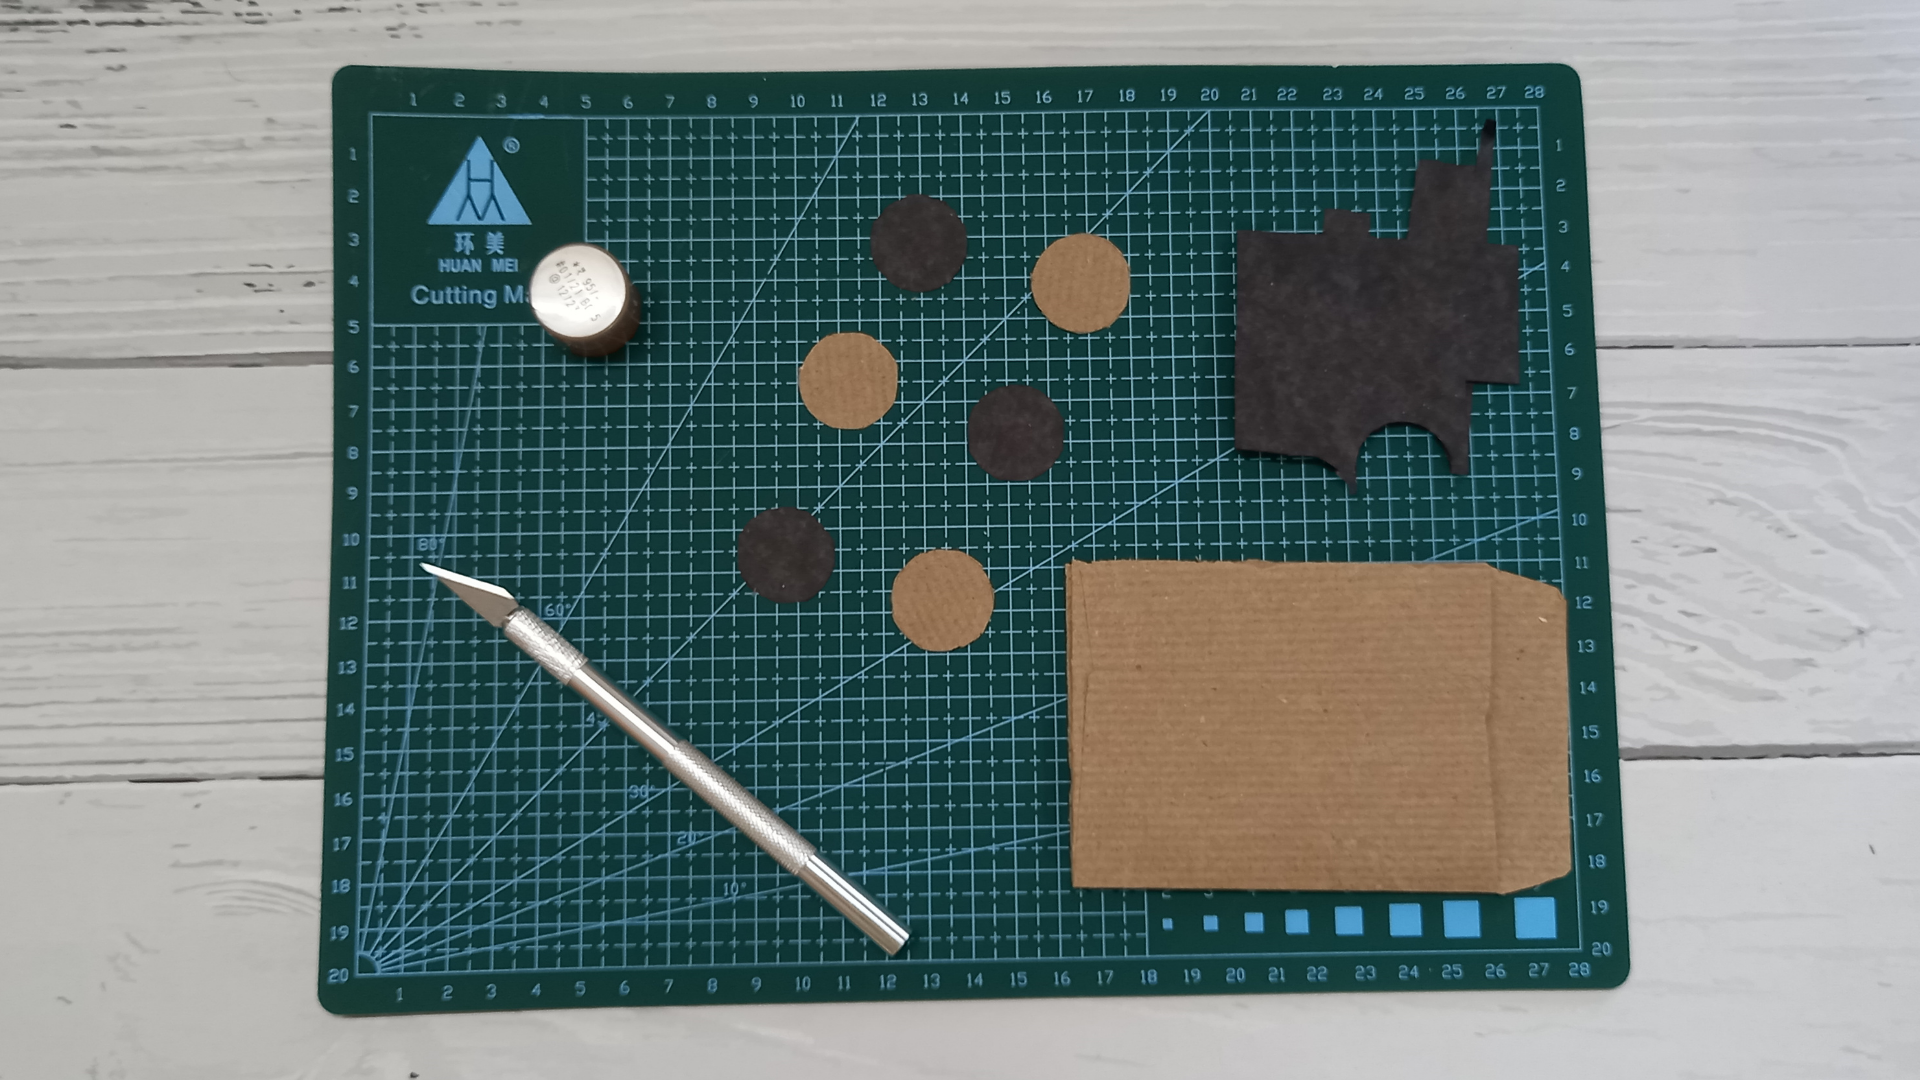
What you will need
An exacto knife, a cutting board and kraft paper or scrap paper in the colour you want. I took a bit of black scrap paper I had and a brown envelope, which had been discarded.
If you don’t have either of these things, you can take some newspaper (it does give a vintage look), or if you want the specific colour, just colour in with a marker.
The process
I used a small bottle cap (as seen in the picture) as a stencil for the shape of the circle. I cut out the circles with my exacto knife and stuck it to my bujo with a glue stick.

If you want to see how I used all these DIY vintage crafts, you can check out my vintage themed bullet journal set up or my Instagram page.
Let me know in the comments if you plan to make a vintage themed journal spread or any of the DIYs above.
Keep creating, keep planning! 💕