Have you seen people on Instagram using this beautiful stand to keep their headphones on?
Of course, I wanted one too. I would have loved to spend ₹500 on it, but the DIY mind in me decided to try to replicate the stand with the materials I have at home.
So here is how I DIY’d homemade headphones stand made out of tissue paper roll and cardboard!
How to make DIY headphones stand that ACTUALLY WORKS with TISSUE ROLL
DISCLAIMER –This post may contain affiliate links, which means we may receive a commission if you click a link and purchase something that we recommended! You can read my full disclosure here.
Is it possible to make a headphones stand without wood or steel?
Of course! We can make a headphones stand (on our own) with a used tissue roll.
This is such an easy DIY that it hardly requires any time or effort to make. Let me first show you the Instagram version of the headphone stand so you get an idea of the model we are going to make.
(By the way, you can get 5% off on all your craft supply purchases at Itsy Bitsy Crafts Store, India using my code CREATE5)
Materials needed to make a DIY headphone stand?
Reel of the Process
Here is the YouTube short I made, which will show you a quick version of how I made the headphones stand.
How do I DIY a headphones stand with used tissue roll?
Step 1 – Stuff old newspaper
The easiest step in this process, we only have to ball up some old newspaper and stuff it into the old tissue roll. We are doing this to increase the weight of the tissue roll, so that it can withstand the pressure of the headphones in the long run.
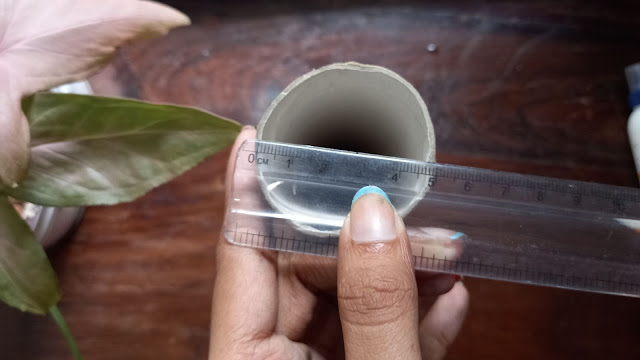
Step 2 – Measure
We are now going to measure the base of the tissue roll to get the diameter, and then calculate the radius (divide by 2). My base diameter was 4.8 cm, so I got a 2.4 cm radius.
Measure the base of the roll with a ruler
Step 3 – Draw circles
We are going to use the thin cardboard to cover the two ends of the tissue roll. For the thin cardboard, I just took a used Dove™ soap box. Take the radius on your compass, and draw a circle onto the cardboard.
Add 0.50 mm to your radius measurement (my radius became 2.90 cm) and using the same center, draw another circle over your first circle.
Draw two circles
Step 4 – Cut the circle and lines
We will first cut out the outer circle.
Cut out the circle
After this, we will cut small lines in the area where the difference between the two circles appears.
Cut lines in between the two circles
Step 5 – Press the lines and insert
Press these lines forward, so that it is standing upright.
Press the lines forward so that they stand upright
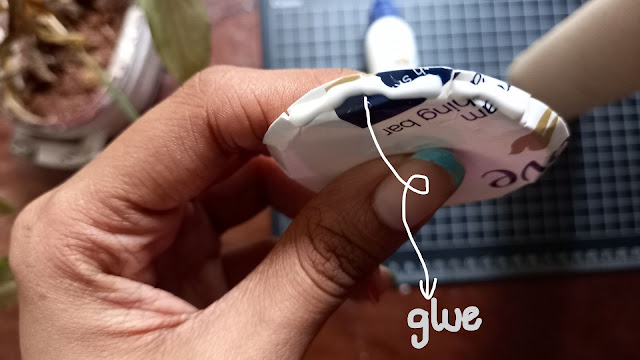
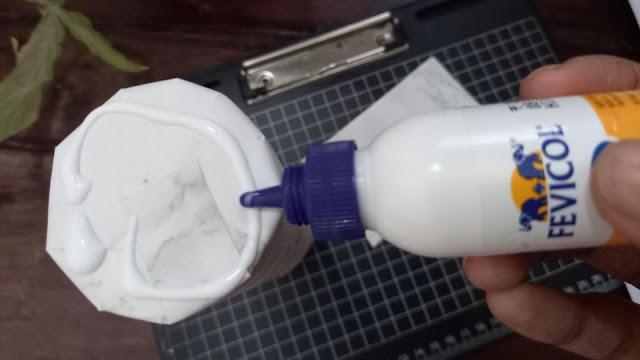
Put Fevicol or hot glue on the standing lines.
Put glue on the standing lines
Place the circle on one end of your tissue paper roll and insert the lines into the hollow part, so that the lines will stick to the tissue roll. By doing this, the circle will cover the base of the tissue roll.
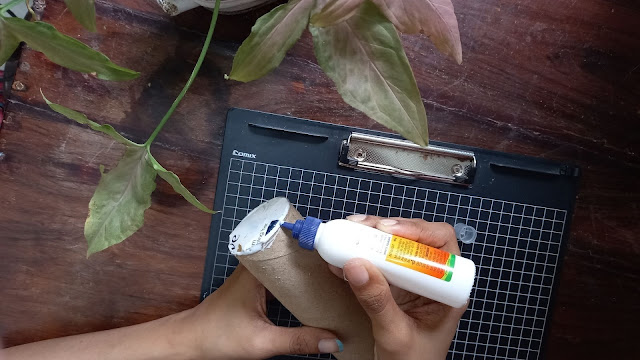
To secure it further, glue the outside also.
Glue the outside also
Step 6 – Repeat steps 3, 4, 5
We have only covered one end of the tissue roll. We have to repeat steps 3, 4 and 5 to cover the other end as well.
Step 7 – Make the base
Take a square or a rectangular piece of thick cardboard, which is big enough to accommodate the tissue roll. For my thick cardboard, I took a portion of the lid of a box in which I got a mug.
There are no measurements; just place the tissue roll (the stem) to see what size you want. Cut this thick cardboard in the shape and size you want.
Take a thick piece of cardboard for the base
Step 8 – Decorate
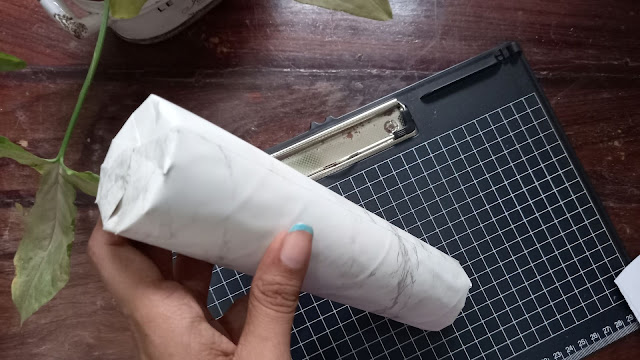
Paint the tissue roll and the base in any colour you want. You could also opt to cover the tissue roll and the base with contact paper (or even use gift paper). I went with this marble contact paperI got off of Amazon.
The stem covered in contact paper
The base covered in contact paper
Step 9 – Attach the base and stem
Attach the base (thick cardboard) and the stem (the tissue roll) by gluing them together. Again, you can use Fevicol (which I used) or a hot glue gun.
Glue the bottom of the stem and attach to the base
To secure it further, we should glue the outside also, around the area where the base and stem get attached.
Glue the outside of the base and stem to secure further
And, you are ready to use your DIY tissue roll head phone stand!
End result – DIY Headphones Stand!
How tall does my headphone stand have to be?
You want to make your stand tall enough so that the headphone does not touch the bottom when hung from it. I used a tissue roll with a height of about 15 cm.
Can a tissue roll withstand the weight of headphones?
My headphones set (which I keep on the stand) is the EKSA E900 and it weighs 300 grams (or 10.5 ounces). The tissue roll stand has been working perfectly with the headphones for about a month now. By the way, the sound quality in these headphones is amazing. You should definitely check it out. ☺
Since we stuffed the tissue roll with plenty of old newspaper before we started the DIY, rest assured that the roll has enough weight to withstand the pressure of the headphones.
DIY Headphones stand in use
How much will making a DIY headphones stand approximately cost?
I spent ₹20 on Fevicol glue and ₹250 on contact paper. Overall, this DIY should not cost you more than ₹300. It will most probably be much less than this, because we will mainly be using recyclable things found in our houses.
I hope this was a useful tutorial. I have been using this DIY headphones stand for 3 years now, and I’ve had no problems with it.
Please let me know in the comments if you have any queries regarding this DIY.